
Custom logo golf caps often carry several identities: a club crest at the front, a sponsor at the side and an event name or brand mark at the rear. The first design task is deciding how those marks share the available space. Sending separate logo files without a placement map leaves too much open to interpretation.
Use the Custom Golf Cap Buying Guide to connect branding with the crown, visor and fit. This article focuses on the artwork handover: what goes where, how its dimensions are described and which version applies to each cap.
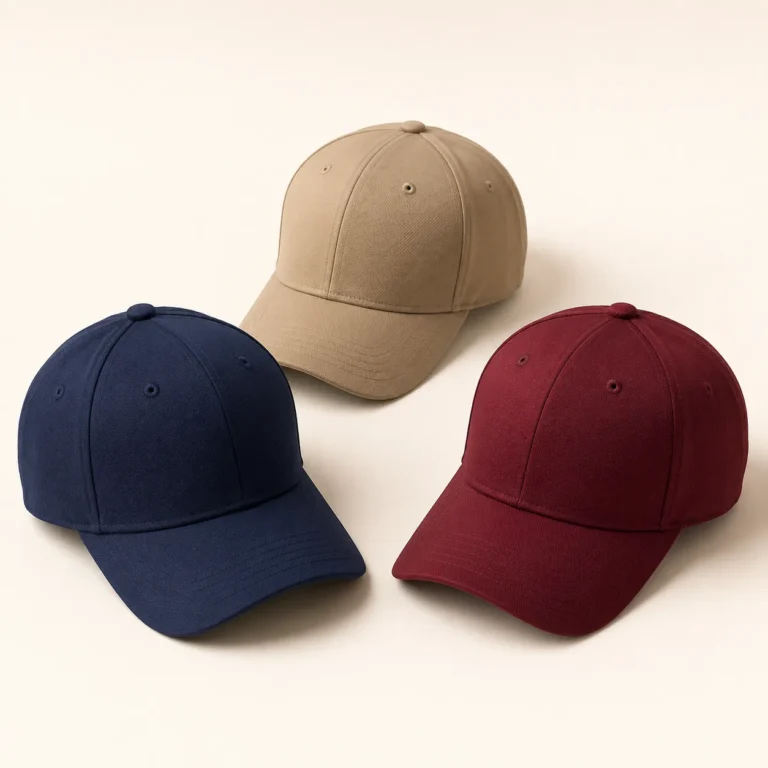
Choose the primary mark before filling other areas
Decide which logo should lead the design. Consider the intended front view and how the cap will be worn. A compact crest, wide wordmark and tall monogram need different proportions; giving all three the same width does not make them visually equivalent.
Confirm any sponsor hierarchy or brand rules with the responsible owner. Show secondary marks on side and rear views. Keep the design readable instead of filling every available panel simply because another decoration position is possible.
Use explicit left and right labels
State whether a side is named from the wearer’s perspective or from a person facing the cap. Label each view and its artwork location. Include a rear view showing the closure and opening so a rear mark cannot be mistaken for a strap decoration.
Give every location a short reference code. Link that code to the exact artwork file, finished width and height, colour version and proposed decoration method. The placement drawing and artwork list should tell the same story.
Measure from a defined point
Show the artwork centre and the reference point used to position it. Identify whether a distance follows the curved surface or is measured in a particular flat condition. Avoid an instruction such as “two centimetres up” without saying what it is measured from.
Review the front seam, visor join, eyelets and panel boundaries around the proposed mark. The useful decoration area depends on the cap construction and method. Ask for a finished-cap trial where the seam or curve could affect the result; do not rely on a flat digital overlay as final evidence.
Keep colour references separate from screen previews
Identify the approved brand colours and the proposed thread, patch or print references. A screen rendering can help explain the design, but it does not establish a physical colour match on every material.
Pantone’s guidance on physical colour samples provides useful context for communicating a colour reference. Agree the actual material or decoration sample for the project and record the accepted reference beside the artwork version.
Build a version map for club and sponsor changes
Use a separate row when the club mark, sponsor, event year or colour treatment changes. Record which cap colours and quantities use that version. If a single-colour crest replaces a multicolour crest on one shell colour, give that adaptation its own identified artwork.
Archive replaced files and make the current files easy to recognise. Avoid several attachments named “final logo”. An event-date correction or sponsor update should appear in the revision record and be checked across every affected placement.
Approve the assembled composition
Review the decorated cap from front, side and rear at a consistent scale. Check each mark’s dimensions, position, colour and relationship to the other features. Distinguish a placement approval from an approval of embroidery detail, attachment or other production characteristics.
Retain the marked drawing and accepted sample reference together. If the crown or decoration method changes later, review whether the placement remains suitable. A new material can require more than reusing an old artwork file.
For a project discussion, visit the Wenext Caps golf cap product page and send the placement map with the original artwork. Include the variant quantities and delivery requirements so the design can be reviewed as a complete programme.