
A raised embroidery sample should explain both the intended appearance and the method used to create it. Two logos can show visible height while using different constructions. Name the proposed route before comparing samples or treating a close-up photograph as a complete specification.
The snapback cap buying guide provides a related construction reference. Use this checklist to prepare the relevant branding or embroidery decision.
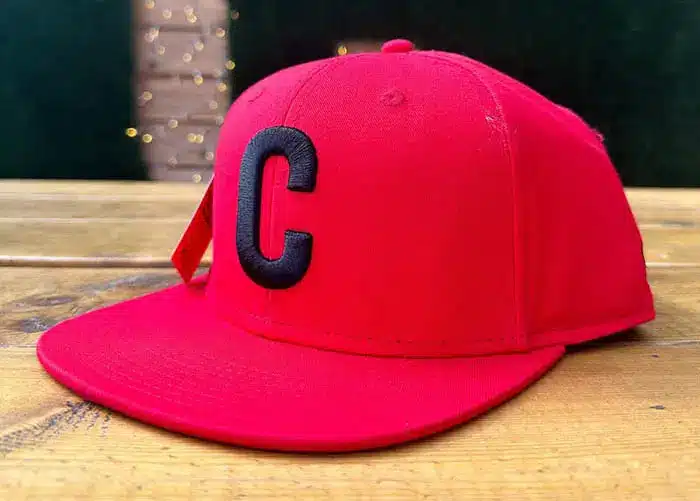
Define the intended dimension and method
Describe the areas meant to stand proud, the parts intended to remain flatter and the desired shape of the letters or symbol. Ask the supplier to identify the proposed construction and relevant materials. Avoid using the word raised as the whole production instruction.
Madeira’s foam embroidery guide describes a specific foam-supported technique. A sample made through that route should be identified as such; a broader request for a dimensional effect still needs the actual method confirmed.
Compare samples using the same cap and artwork scope
Keep artwork version, finished dimensions, cap construction, thread appearance and position comparable. If a supplier offers a different construction, make the change visible in the comparison. Otherwise an apparently stronger result may simply be a larger logo on a more supported front.
Look at the sample from the front and side, at actual size and while worn. Judge readable spaces and overall balance alongside height. A taller result is not automatically the better interpretation of the brand mark.
Inspect edges and transitions between raised and flat areas
Use the 3D puff artwork checklist when foam is proposed. Review coverage, open ends, narrow features and how raised elements join or sit beside flatter detail. Keep unresolved edge issues in the sample comments.
Inspect the crown around the design for distortion and unwanted bulk. Review the reverse and wearer-contact areas. A close-up of the raised face alone can leave those complete-cap questions unanswered.
| Check | Reference to retain |
|---|---|
| Effect | Intended raised zones and named construction |
| Comparison | Artwork size, cap support, position and thread reference |
| Appearance | Height, readable spaces, balance and wearing view |
| Edges | Coverage, transitions and complete inside/outside finish |
| Release | Accepted combination, file references and change rules |
Retain an identifiable accepted reference
Connect the chosen sample with its artwork, material and digitised file references. The embroidered quote checklist helps keep the accepted effect within the actual commercial scope.
For bulk review and repeats, identify the reference that covers each cap and logo combination. A changed material, logo size, support or effect requires a stated review of the affected decisions. Keep relevant care or durability evidence separate from a simple visual acceptance of height.
Discuss the proposed construction through the related cap product page. Send the artwork, cap reference, quantities and open questions through Contact Wenext Caps so the next proposal or sample addresses the actual brief.