
Private label snapback caps need a consistent identity on the inside, on the hangtag and on the carton. A correct front logo does not confirm that the right labels, item codes or packing instructions have been used. Treat the branding details as a small approval package with its own references, rather than leaving them until the cap sample is finished.
Start with the Snapback Cap Buying Guide for construction decisions. This article focuses on organizing the trims and retail details that accompany the approved cap.
Prepare a trim register for the order
Give each label, tape, hangtag and sticker a reference code. Record its artwork revision, proposed dimensions, material direction and position. If the same trim appears on several colorways, identify the shared reference explicitly. If the wording or color changes, give the variation a separate entry.
The register should distinguish artwork approval from physical approval. A PDF can confirm spelling and layout; a physical example shows scale, texture, folded edges and attachment. Keep both connected so an accepted drawing is not mistaken for acceptance of an unseen material or finish.
| Detail | What to approve |
|---|---|
| Inside brand label | Artwork revision, finished size, fold, position and attachment. |
| Information label | Buyer-approved wording, legibility and placement on the actual construction. |
| Seam tape | Material, print direction, repeat and how it ends at panel joins. |
| Hangtag | Artwork, stock, hole position, attachment point and item reference. |
| Barcode or sticker | Buyer-supplied identifier, printed data, scan result and placement. |
| Packing marks | Style, color, quantity and the agreed carton or assortment reference. |
Check inside labels beside the adjustment system
A snapback has a rear opening, sweatband ends and closure attachments that limit where a label can sit comfortably. Review the label on the actual cap, both while worn and while the closure is adjusted. Check for a hard folded edge, a loose corner or a label that catches against the strap.
Specify the attachment position against a recognizable seam or edge. “Inside the cap” is too broad when several people are preparing samples or checking production. If the label location changes between constructions, keep the exception visible instead of copying the same placement instruction across the collection.
Supply the wording instead of copying another cap
Provide the exact text for brand, size and other information labels. Confirm the product information for the intended order rather than taking it from a reference sample or artwork mockup. Do not infer material composition, origin or a performance claim from a photograph.
Check spelling, punctuation, symbols and the final text size on the physical trim. A label can be technically readable in an enlarged proof and difficult to read at its finished dimensions. The accepted wording and layout should have a clear file revision.
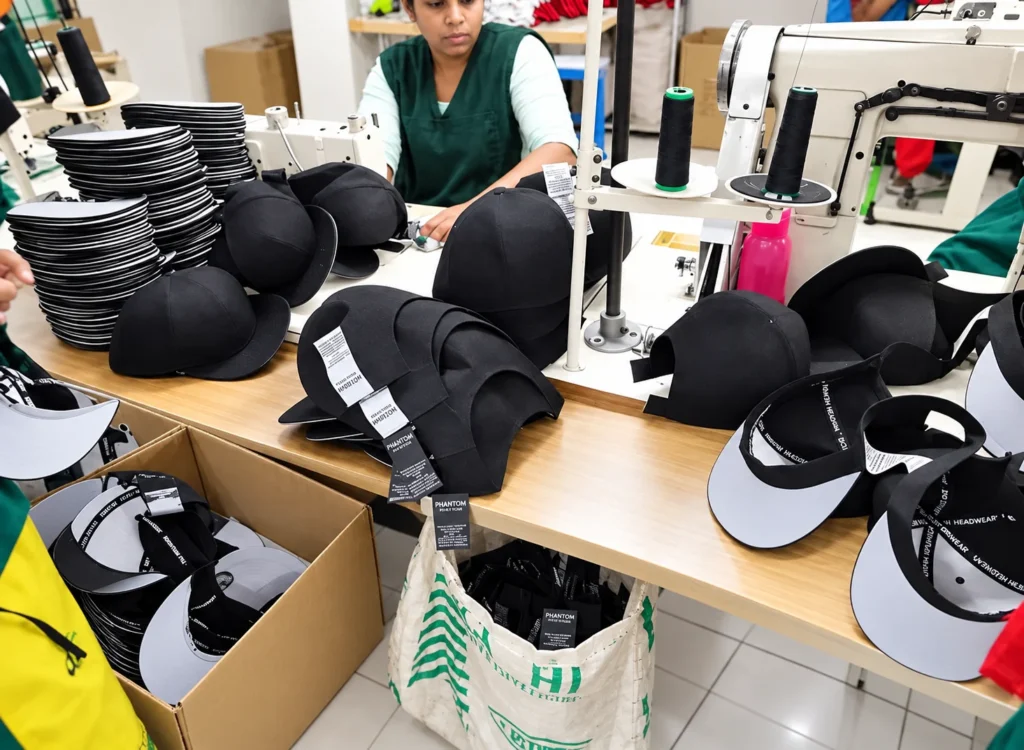
Review seam tape and visible trim repeats
Branded seam tape needs more than an isolated logo proof. Check the print direction, repeat spacing and what remains visible after the tape is sewn into the crown. At joins, a graphic may be interrupted or partly covered; agree which parts of the presentation matter to the brand.
Review tape together with sweatband and label colors. A strong contrast may be intentional, while another collection may need a quieter inside finish. Record the accepted combination and avoid substituting one trim independently without checking its effect on the complete cap.
Connect retail identifiers to the right version
Use a working item code for each orderable style, color and size where applicable. Keep the code beside the artwork and trim references in the order file. An internal code helps identify a version during development, but it is not automatically a retail barcode identifier.
If your sales channel needs GTINs, use buyer-approved identifiers and confirm the relevant allocation requirements before printing. GS1 explains the purpose of a GTIN in identifying trade items. Check that the printed label scans to the intended product record; a successful scan alone does not prove the underlying product data is correct.
Approve the complete packed sample
Review one proposed finished unit with its labels, hangtag, stickers and individual packing. Open it as a receiving or retail team would. Check that tags are attached where intended, adhesive does not leave an unwanted mark and packing supports the agreed crown and visor presentation.
Keep any barcode variant or channel-specific packing requirement separate in the register. A loose tag approved on its own does not establish its position on the cap, and a generic packing photograph does not approve every assortment.
Keep replacements and reorders traceable
If a trim changes during development, update the register and identify which sample or file supersedes the earlier one. At a reorder, confirm the active artwork and material references instead of assuming that the same style name identifies every detail.
For a new project, the custom snapback design brief helps keep the branding register connected to the construction, colorways and quantities. Share the current version with the sample comments so the team is reviewing one coordinated package.
Frequently asked questions
Does private label mean only adding an inside logo label?
No. A project may also include seam tape, information labels, hangtags, stickers and packing artwork. Specify what the order actually includes rather than relying on the term alone.
Can one trim approval cover all colorways?
It can cover an explicitly shared trim, but changes in wording, color, size or position need to be identified. Confirm which versions the approved reference represents.
Should the factory create my retail identifiers?
Provide buyer-approved identifier data and confirm responsibilities with the relevant sales channel. Keep that data distinct from the factory’s working production codes.
Discuss your private label snapback package
Review the main snapback cap product page, then send Wenext Caps your trim register and cap brief. Include artwork revisions, quantities, packing needs and the points that still require a physical approval.