
A camper cap can look different when a stripe turns at a seam, a large motif is cut between panels or a textured fabric faces another direction. These are pattern and cutting decisions worth settling before the first decorated sample. A photograph of the whole cap rarely records them clearly enough.
Use the 5-panel cap buying guide to establish the overall construction, then add a seam and fabric-direction sheet for the camper pattern you want. The five-panel cap product page provides the route for discussing that construction with Wenext Caps.
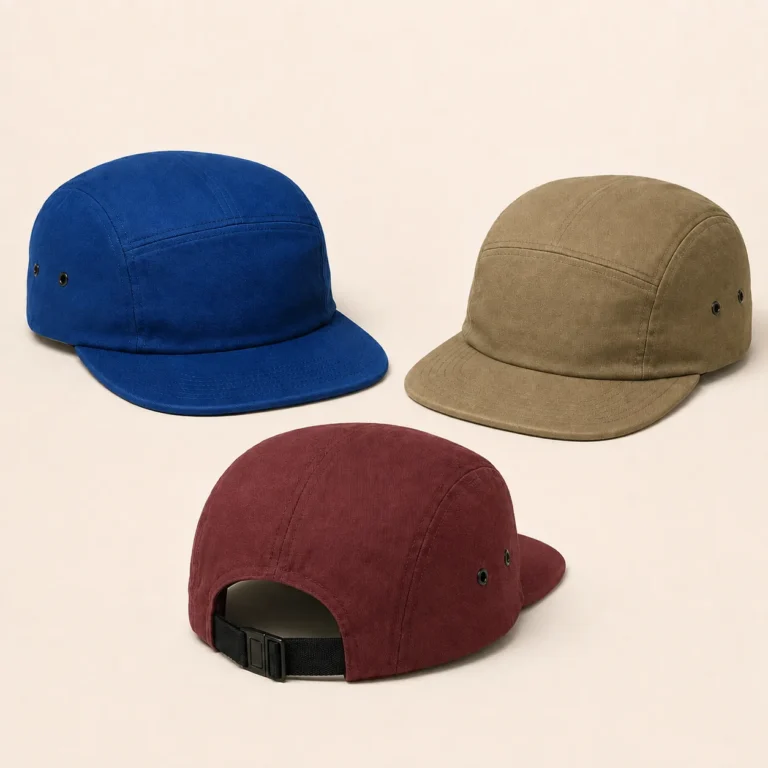
Draw the panel map before discussing alignment
Show the actual front, sides, top and rear in separate views. Give the pieces identifiable names and mark the joins that matter visually. If a reference is five-panel, keep that layout visible; the word “camper” alone should not substitute for an agreed pattern.
Mark a line or motif that must align, then show where it may break. A buyer may want a centred front graphic without expecting every side seam to match. Record that distinction so the sample team can assess the important join rather than guessing from a mood image.
Identify the fabric face and visible direction
Attach the actual fabric reference and indicate the intended outward face. Use arrows to show the requested direction on each panel where texture, stripes or a printed design make orientation visible. Include a close view beside the full-cap drawing.
CottonWorks explains plain and twill structures in its basic woven fabric guide. That background helps describe a visible weave, while the selected swatch and proposed cutting layout establish the appearance for this cap.
Ask what the matching request changes
Have the supplier review the proposed pattern against the actual fabric repeat and available width. Ask how a matching requirement affects cutting options, material usage, price and sample timing. Keep that response with the proposal; do not assume a matching reference can be repeated at the same cost as a plain fabric.
Where exact continuity is impractical, request an illustrated alternative. Agree whether the priority is the front centre, a side pair or the overall distribution of the pattern. Approve a defined compromise instead of leaving “as close as possible” as the only instruction.
Review the join on the assembled sample
Compare the sample with the marked views in a consistent wearing or display position. Look at each priority join, the visible fabric face and the relationship between the pattern and logo. Separate an intentional break from a cutting or assembly difference.
| Review field | Record for this design |
|---|---|
| Panel map | Named pieces, reference views and accepted pattern revision |
| Material identity | Actual fabric reference, outward face and visible direction |
| Priority joins | The stripe, motif or line that matters at each named seam |
| Proposal limits | Agreed alternatives and any cost or timing implications |
| Sample decision | Observed result, accepted breaks and specific revisions |
Carry the accepted layout into the next review
Keep the marked drawing, fabric reference and accepted sample identity together. For later colourways, check whether a different print scale or texture needs its own review. The same crown pattern does not automatically settle a new fabric arrangement.
Use the five-panel design brief for broader silhouette decisions. Send the fabric direction, panel map and priority joins through Contact Wenext Caps to review the next sample scope.