
A custom golf visor design needs a drawing that explains both its outline and how it will sit on the head. The front band, brim and rear fastening are connected, but changing one does not automatically define the others. Name the decisions before asking for a sample.
The Sun Visor Buying Guide covers the overall product specification. This article focuses on the design brief for an open-crown golf visor, from reference views to the available branding area.
Mark what you want to retain or change
Use front, side and rear views of the intended construction. Label the front-band height, side taper, brim outline and rear arrangement. If a reference combines details you want with details you do not, mark the selected features individually.
Give the drawing a revision and connect it to the enquiry. Distinguish essential features from alternatives you would like the supplier to propose. This allows the response to address specific design decisions.
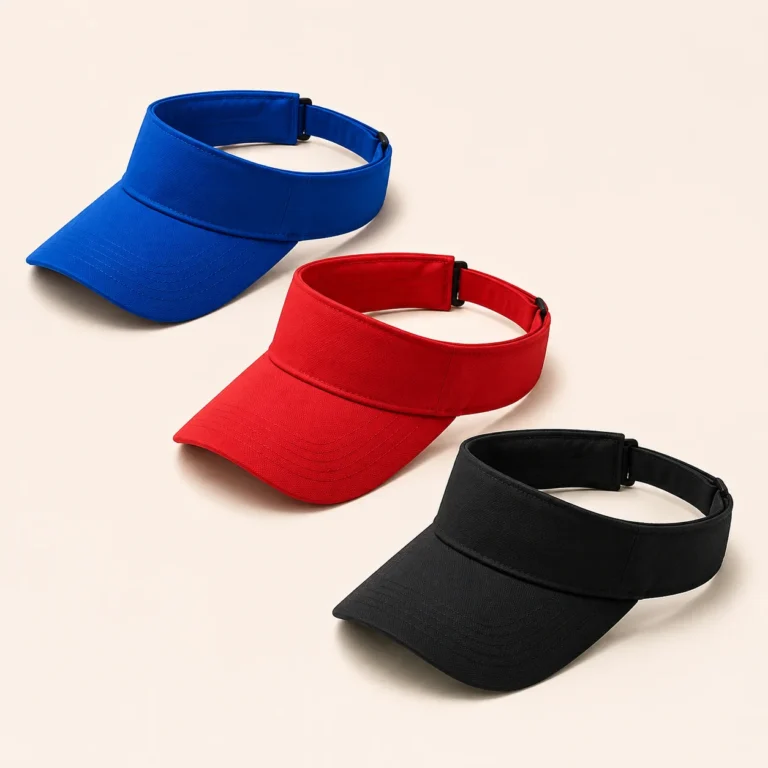
Describe the brim in the intended wearing position
Show its projection, width, outline and curve. Identify the underside, edge treatment and visible stitching. Use a side view to communicate how the brim should sit relative to the band when the visor is worn.
Review that supplied shape consistently between samples. A brim styled by hand for a photograph may show a different curve from the intended construction. Mark the actual feature requiring a change before requesting a new version.
Specify the rear fastening independently
Identify the proposed closure and the settings needed for review. Include strap handling, any overlap and the inside finish. Record fit measurements with their units and method so the drawing and sample can be compared.
Titleist’s official Tour Performance Visor lists its curved bill and adjustable fastening separately. Use that approach when defining your own combination, with the selected details named in the project brief.
Draw the logo on the available front band
Place the artwork at its intended finished size within the band layout. Show its location against the upper edge and brim join. Keep side and rear applications separate, including their dimensions and method.
Review the mark on the actual band curvature and material. Read small lettering on the complete visor as well as inspecting a close view. Identify whether a revised graphic, application or band design is being proposed so the next sample addresses the right decision.
List the components behind the appearance
Identify the outer material, inside sweatband, support, brim insert and fastening. Include physical material and colour references where available. A drawing communicates the intended appearance while the component references identify the proposed construction.
Mark temporary materials used for development. If a final component changes, ask which shape, fit or decoration points need another review. Avoid treating a visually similar substitute as an accepted match without identifying it.
| Drawing or reference | Sample review |
|---|---|
| Front and side views | Band height, taper, brim projection and curve |
| Fit and rear arrangement | Wearing position, measurements and fastening settings |
| Artwork layout | Finished size, placement and applied result |
| Component references | Actual or provisional shell, support, sweatband and trims |
Release a brief that can be sampled and quoted
Connect the drawing, component list, artwork and quantity breakdown. Include labels, packing, destination and intended timing. Ask the supplier to identify assumptions and open inputs in the response.
After reviewing the sample, number the changes and retain the accepted features. Discuss the proposed item through the Wenext sun visor product page, and send the brief through Contact Wenext Caps.