
An embroidered patch is a separate component that must work on the finished cap. Review the stitched badge first, then its placement and attachment. Keeping those decisions separate helps explain whether a problem comes from the artwork, the patch construction or the way it joins the crown.
Start with the baseball cap buying guide to settle the base construction. Use this checklist to prepare the related patch decision for that cap.
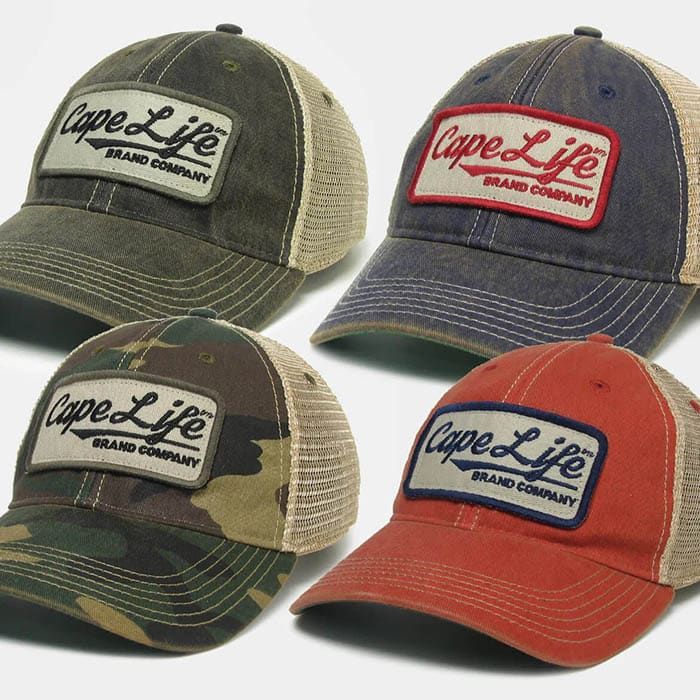
Read the logo in the stitched sample
Use the finished badge size when reviewing small letters, open spaces, outlines and filled areas. The thread path and visible base can change how the design reads. Keep the artwork version with the stitched sample so any simplification remains an approved design decision.
Compare the result with the intended effect, rather than ask for maximum coverage everywhere. If fine detail is the priority, the woven patch checklist provides a separate route to discuss. The actual-size samples should decide which interpretation suits the mark.
Review the perimeter and reverse
Name the proposed border and check it around corners and narrow features. Look for a clean outline, trapped or loose threads and unwanted bulk. Confirm how much space remains between the outer edge, the logo and any proposed attachment stitch path.
Record the backing and examine the reverse. Its thickness, stiffness and attachment arrangement belong to the component specification. A patch that looks tidy face-up can still create an uncomfortable or awkward result after it is fixed to the cap.
Use instructions that belong to the selected backing
STAHLS’ embroidered patch instructions provides different application arrangements and identifies equipment-specific settings for its own product. Use that as a reason to obtain the instructions for the badge actually selected, rather than copy a generic heat-press recipe.
Where sewing is proposed, agree the thread, path and edge clearance and review puckering on the intended fabric. Where a heat-applied or combined route is proposed, check the actual cap after application for marking, edge lift and shape change. Keep unresolved points visible in the sample record.
| Check | Reference to retain |
|---|---|
| Artwork | Actual-size logo and released adaptation |
| Stitching | Readable detail, visible base and accepted thread appearance |
| Perimeter | Border, corners and attachment clearance |
| Reverse | Selected backing and suitable application instructions |
| Assembly | Accepted cap, placement, inside finish and care evidence |
Accept the badge on the complete cap
Review scale and apparent centring while the cap is worn. Check the front, side and inside, including how the patch behaves over the crown curve. The accepted reference should include both the badge and this assembled view.
Use the production handoff checklist to connect component approval, incoming checks and final cap inspection. Any care or durability statement needs relevant evidence for the assembled combination; a neat new badge alone does not establish it.
Discuss the proposed baseball cap with Wenext Caps. Send the artwork, cap reference, intended quantity and open questions through Contact Wenext Caps so the next sample or quotation can address the actual brief.