
Embroidered trucker hats need more than a logo file and a thread color. The same artwork can look different on a foam front, cotton twill or a front panel divided by a center seam. A useful sample review checks the stitched design, the surrounding fabric and the shape of the complete cap together.
This guide focuses on artwork and embroidery approval. Use our custom trucker hat guide for the wider choices about mesh, fit, closures and order planning, or visit the trucker hat manufacturing page to discuss production.
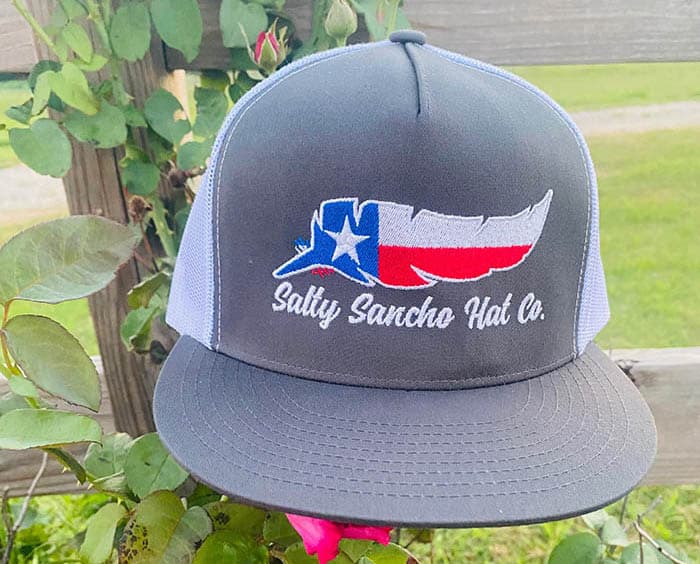
Give the embroidery team a clear artwork brief
Send the original logo, the proposed finished dimensions and the position on the cap. Include a vector file when available, but also explain which details must remain recognizable. A vector outline provides design information; it is not automatically the stitch file used by an embroidery machine.
Separate front, side and rear embroidery into individual placements. Mark the width, height, orientation and reference points for each one. If the same logo is used at different sizes, request approval for each version rather than assuming that a smaller copy will retain every detail.
Identify the thread colors using agreed physical references where possible. A screen image is useful for communication, but display settings and lighting can change how a shade appears.
Review small lettering at its intended size
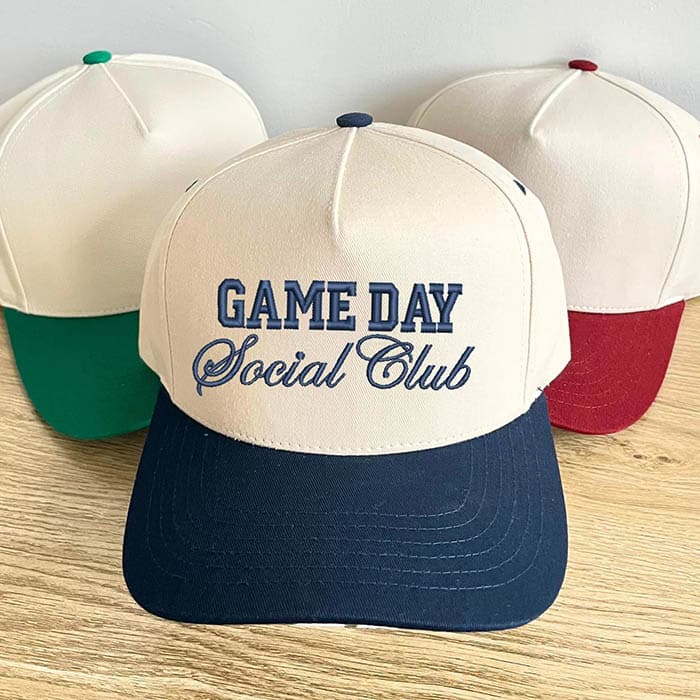
Thin lettering, narrow gaps, close outlines and small symbols deserve attention before sampling. Look at the artwork at the actual finished dimensions. If it is difficult to read on screen at that size, discuss simplification or a larger logo with the sample team.
Approve changes explicitly. Thickening a line, opening a gap or removing a tiny element may help the stitched result, but the revised version still needs to respect the brand. Keep the original artwork and approved embroidery version separately so neither is mistaken for the other.
On the sample, check letters, counters, outlines and transitions between colors. Review the design at a normal wearing distance as well as close up. A technically neat stitch can still produce a logo that is too small to communicate clearly.
Match the design to the front construction
A seamless front and a center-seamed front offer different surfaces. Confirm whether the design crosses a seam and inspect how the stitch coverage and outline appear there. Check placement relative to the visor and crown rather than measuring the logo in isolation.
The front fabric, support and decoration should be approved as one combination. If the material changes after the embroidery sample is accepted, review whether the existing stitch file and setup still produce the intended result. An approval for one cloth should not silently become approval for every colorway or construction.
Decoration on mesh needs its own review. Open mesh and a solid front do not provide the same surface. Ask to see the proposed rear or side embroidery on the actual panel, including the appearance of any backing from outside and inside.
Compare flat and raised embroidery on a physical sample
Flat embroidery and raised embroidery create different effects. Choose according to the artwork and intended appearance rather than treating raised work as an automatic upgrade. Fine details, outlines and mixed-height areas should be discussed before the final method is chosen.
Review raised areas from several angles. Check their edges, consistency and how they sit against neighboring details. Look for exposed support material, uneven height or a shape that differs from the approved artwork. Ask for a correction on the actual cap when a flat stitch-out cannot answer the question.
If you are comparing direct embroidery with a separate badge, our front patch approval guide explains the additional decisions about patch dimensions, edges and attachment.
Inspect the fabric around the stitching
Do not judge embroidery only by the thread-filled area. Look at the surrounding front panel for puckering, pulling, visible holes or a change in crown shape. Check the inside for loose ends, rough areas and backing that interferes with comfort.
Stabilization is part of the embroidery setup. Madeira’s embroidery backing guide provides relevant background, including cap applications. Ask the sample team to select and evaluate the setup for the proposed material and design rather than specifying a universal backing or stitch count from a generic checklist.
A dense-looking logo is not proof of a better result. Approve coverage, clarity, shape and handling on the finished cap. If a problem appears, identify it in a photograph and describe the correction you need instead of asking only for “more stitches.”
Record placement and approval status precisely
Use consistent measurement points for logo placement. Record the distance from the visor seam or another agreed reference, together with the logo dimensions and orientation. A picture without measurements can leave uncertainty when the same mark is used on another cap size or profile.
Keep comments in one revision record. For example, state that thread colors are approved while the front logo needs to move upward, or that the artwork is accepted but the panel is still puckering. This prevents a partial approval from being interpreted as approval of the entire cap.
Once the remaining points are resolved, identify the final sample and embroidery file version. Link them to the cap specification, material references, label artwork and packing instructions. Reorders should list changes against that baseline.
Use this embroidered-cap sample checklist
- Confirm the artwork revision and finished logo dimensions.
- Compare thread colors with the approved references.
- Check small lettering, gaps, outlines and color registration.
- Review embroidery across seams and on every proposed panel.
- Inspect the front for distortion and the inside for comfort.
- Check crown shape and logo appearance while the cap is worn.
- Record unresolved changes and the final approval status.
For quotation planning, provide quantities by cap color and logo version. State the number of placements and any raised work, labels or special packing. Ask for MOQ, sample charges and lead time against that specification so quotations can be compared on the same basis.
Common questions about embroidered trucker hats
Is a flat embroidery sample enough?
It can help approve artwork and thread colors, but a finished cap is needed to assess placement, panel behavior, crown shape and inside finishing. Record what each sample is intended to approve.
Can a logo be reduced without making a new sample?
A smaller version may change the readability of letters, spaces and outlines. Ask the embroidery team to review the revised dimensions and approve a sample when the change could affect the result.
Can different cap colors share one embroidery approval?
They may share an artwork version, but review thread contrast and the actual materials for every colorway. Note which combinations the approval covers and which still need confirmation.
Send a brief that is ready for sampling
Share your cap reference, artwork, logo sizes and positions, thread colors, quantity breakdown and target date through the Wenext Caps contact page. A clear brief makes it easier to identify the sample decisions that matter before bulk production.