
A private label cap should be recognizable inside as well as outside. For a stretch-fit design, those branding details also need to work with the sweatband and closed-back construction. A label that looks right in a flat proof may feel awkward when sewn into the finished cap.
This private label stretch-fit cap guide covers trim placement, approved text, size identification and packing records. Use the Stretch-Fit Cap Buying Guide for the full development sequence, and the main stretch-fit product page for a sourcing discussion.
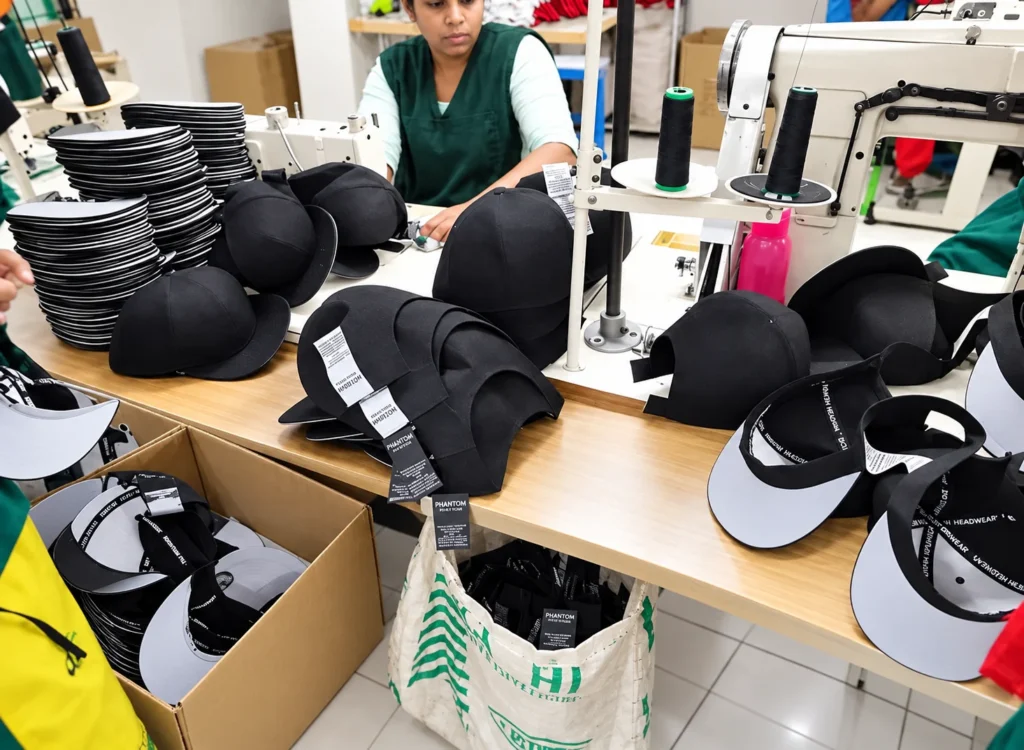
Make a trim list before commissioning artwork
List every branded component the buyer expects to receive. This may include a brand label, size label, internal taping, care or composition information, hangtag, sticker and packaging label. Identify what is actually needed for the order rather than adding every possible trim.
Give each component a reference and assign responsibility for its content. The person preparing a layout should know which wording is approved and which remains a placeholder. Keep provisional text out of files marked ready for production.
Specify the finished label, not only the logo
Provide finished dimensions, fold direction, material preference, colors, attachment method and the side intended to face the wearer. Show where text should sit after folding and sewing. A digital rectangle does not reveal whether a seam allowance will cover a small line of text.
Request a physical trim sample when texture, edge finish or small lettering matters. Check readability at actual size and compare colors against the agreed reference. Record approval of the trim separately from approval of its position in the cap.
Check placement around the elastic sweatband
Mark the intended location on an inside view of the cap. Review how the label, its seam and any folded edges sit against the head. Identify whether the attachment interacts with the band or a part of the construction that needs to stretch.
Assess the finished sample in the relevant size bands. If a label is moved or enlarged, ask the sample team to review the effect on fit and inside finish. Use the stretch-fit sizing guide to keep wearer feedback linked to the actual construction being checked.
Keep the size name consistent across every record
Use the same approved size name on the sewn label, hangtag, item list and packing record. Where an external display name differs from an internal code, keep a clear mapping. Do not rely on a packing team to translate similar labels from memory.
For example, if an item code ends in “SM,” state which approved size band it represents. A code is an identifier, not a substitute for the fit specification. The label should refer to the size system already accepted on the samples.
Supply approved text and product identifiers
Provide the final wording and language versions required for the intended product and market. Have the responsible buyer team confirm factual details such as composition and care information against the actual materials. Do not reuse text from an unrelated cap simply because its layout fits.
If a retailer requires a GTIN or barcode, obtain the approved identifier and format from the responsible party. GS1 explains the GTIN as a trade-item identifier. Keep that information linked to the correct product version; do not invent a retail identifier from an internal style code.
Review hangtags and packing with the cap
Check the tag dimensions, attachment position, printed sides and any variable data. Review how the cap is handled and unpacked so the attachment does not mark the fabric or distort the presentation. Agree which labels belong on the product, inner pack and outer carton.
Use the wholesale assortment guide to reconcile the color and size breakdown. A correct tag attached to the wrong size still creates an incorrect item. Include the item reference in the packing approval rather than reviewing the artwork in isolation.
Approve a complete trim set
Keep the accepted physical trims or clear approval references together with the decorated sample. Review the inside view, sewn size label, hangtag and packing label as one set. Confirm that colors, spelling, orientation and item data match the intended version.
- Artwork: the latest approved file and finished dimensions are identified.
- Content: product facts and variable data have responsible approval.
- Placement: the position is shown on the finished construction.
- Comfort: folds, edges and attachment are reviewed with the sweatband.
- Assortment: each trim version maps to the correct color and size item.
- Records: accepted samples, open questions and revision dates remain traceable.
Control changes and unused trims
When a logo, label text or item code changes, identify which components are affected. Confirm the status of existing stock before ordering more. Keep older artwork from being selected accidentally for a new size band or reorder.
Ask the supplier to confirm how unused buyer-branded trims will be counted, stored or otherwise handled under the agreed order instructions. Record the arrangement and the component references. Do not assume that approval of a new artwork file automatically resolves earlier stock.
Private label questions
Can the brand label and size label be combined?
Discuss the proposed layout and placement with the sample team. Confirm readability, comfort and version control on the actual cap before deciding whether a combined label suits the order.
Is a digital proof enough for approval?
It can establish artwork and wording, but it cannot show every aspect of texture, folding, attachment or wearer comfort. Identify which details require a physical sample.
What should I send for a private label quote?
Send the cap specification, size and color breakdown, trim list, artwork, required text, packaging instructions and destination. Mark any item that still needs development or buyer approval.
Prepare your branding file
Review the stretch-fit cap manufacturing page, then send Wenext Caps your trim and product brief. A clear component list helps the team discuss sampling, placement and the order-specific scope.