
A private label washed cap needs a branding plan that fits the finishing route. A sewn label, a decorative patch and a hangtag may enter the process at different stages. Confirm which result the buyer wants before the sample team decides when and how those components should be attached.
This guide covers trim specifications, approved content and final sample review. Use the Washed Cap Buying Guide for the wider product plan and the main washed cap product page for a manufacturing enquiry.
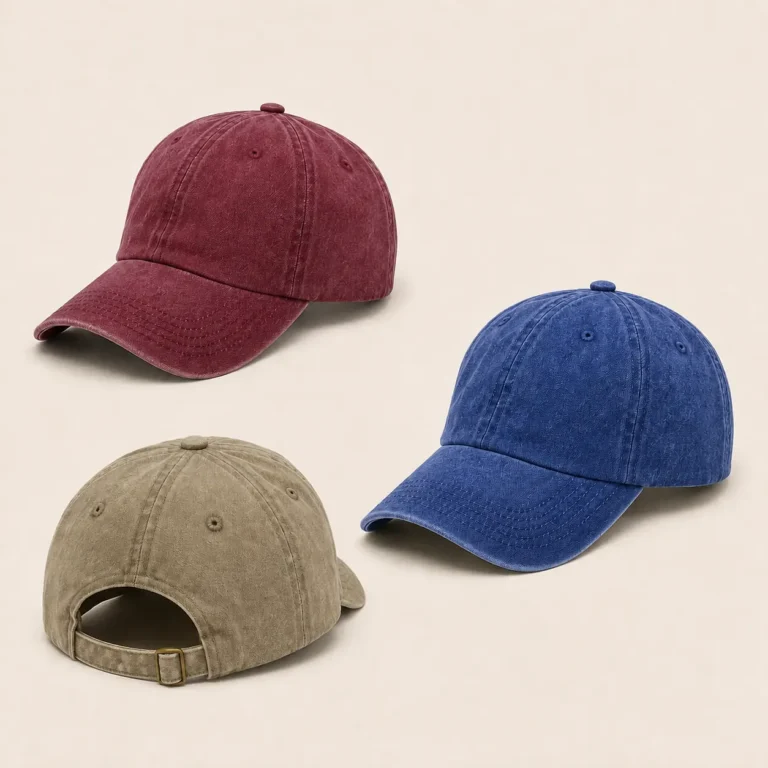
Make a component list with a clear purpose
List the brand label, size information, internal taping, patches, hangtags, stickers and packaging labels required for the actual order. Identify which elements are essential to the range and which are optional proposals.
Give each trim a reference and assign responsibility for its content. Keep a placeholder distinguishable from approved wording. A layout that is ready for discussion should not be mistaken for a file ready to print or weave.
Specify the label as a finished component
Provide finished dimensions, fold direction, material preference, colors and attachment method. Show the intended reading orientation and any area covered by stitching. Review small lettering at the actual finished size.
Request a physical trim sample where texture, edge finish or folding matters. Keep approval of the loose component separate from approval of its sewn position. Both records should identify the same artwork and trim revision.
Locate each trim in the finishing route
Ask which components will be present during the proposed washing or finishing stage and which will be attached later. Record the agreed route for the actual material and cap construction. Do not infer the sequence solely from the trim’s appearance.
If a label or patch is intended to look aged, provide a specific reference. Identify the text and details that must remain legible. Keep an accepted weathered effect distinguishable from an unintended loss of information.
Review the completed inside finish
Show label positions on an inside view and check them on the finished cap. Review folds, seams and edges alongside the sweatband and internal taping. Confirm that the attachment and orientation match the intended presentation.
Keep the actual components identifiable in the sample record. If a temporary label or band was used, list the remaining check. Approval of a sample with a placeholder should not silently approve a different final component.
Keep product text tied to the actual materials
Provide the approved composition, care and other product wording required for the project. Have the responsible buyer team confirm the content for the actual product and intended market. Record any language versions and who approves them.
Do not reuse text from an earlier cap without checking the current material and trim references. If the fabric, finish or component combination changes, ask which wording and supporting information need review before using the old label file.
Map identifiers to the correct item
Use a consistent item reference in the order, trim file and packing record. Where a retailer supplies barcode data or another identifier, keep its approved value and format connected to the right style, color and finish version.
GS1 explains the GTIN as a trade-item identifier. If it is part of the retailer’s requirements, obtain the approved reference from the responsible party rather than inventing one from an internal code. Confirm the physical label and the item mapping together.
Check hangtags and packaging with the cap
Specify tag dimensions, printed sides, attachment and variable information. Review the cap after packing and unpacking so the buyer can assess the intended presentation. Identify which data belongs on the cap, inner pack and carton.
Use the wholesale assortment guide to reconcile item quantities and carton contents. A correctly printed tag attached to the wrong color or finish is still an incorrect retail item.
Approve one complete trim set
Review the accepted cap sample, sewn labels, decoration, hangtags and packing labels together. Compare spelling, artwork, colors, orientation and item data with the current files. Identify any detail that still uses a temporary component.
- Artwork: the approved version and finished dimensions are identified.
- Route: attachment and finishing stages are agreed.
- Appearance: the final trim result matches the accepted reference.
- Content: wording and variable data have responsible approval.
- Placement: the sewn position and inside finish are reviewed.
- Item mapping: product, pack and carton information agree.
Control changes and remaining stock
When a logo, wording or identifier changes, list the affected trims and items. Ask for the status of existing branded component stock before ordering or reusing it. Keep obsolete artwork distinguishable from the current instruction.
Agree how unused trims will be counted and handled for the order. Record component references and responsible decisions. The production-record guide helps connect changes to the work already completed and the work still awaiting a component.
Private label questions
Should a brand label be attached before washing?
Confirm the proposed route with the sample team for the actual material and desired appearance. Review the resulting component and cap rather than assuming one sequence suits every design.
Can a label proof approve the whole trim set?
It can establish artwork and wording. Identify which physical checks remain for folding, attachment, appearance and inside finish.
What should the first private label enquiry contain?
Send the cap and wash references, trim list, artwork, approved text, item quantities, packing instructions and destination. Mark content or components still awaiting approval.
Prepare the branding file
Review the washed cap manufacturing page, then send Wenext Caps your product and trim brief. Use the custom design-brief guide to keep the intended wash and branding appearance clear.