
6-Panel Cap Buying Guide
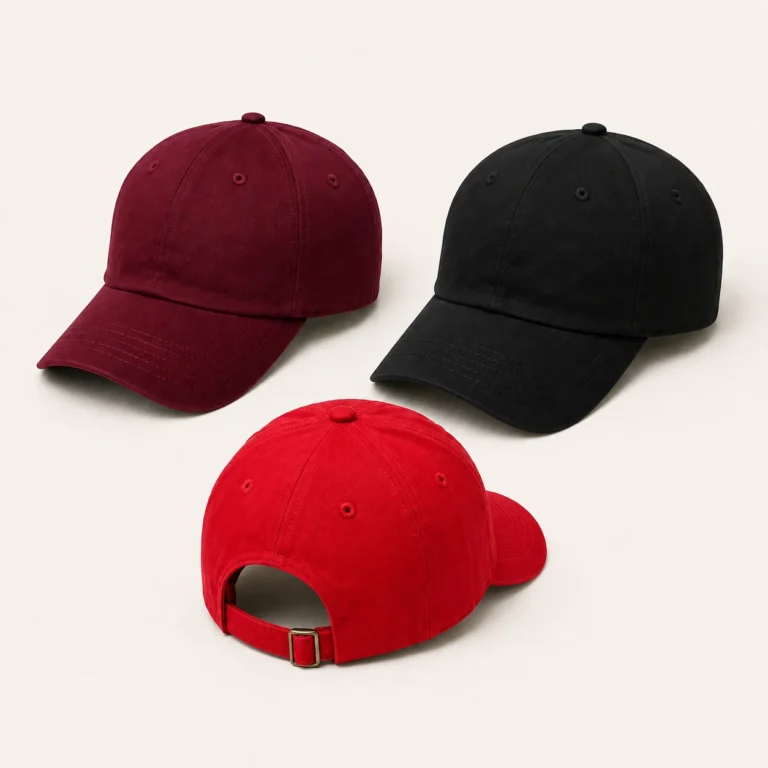
A six-panel cap brief starts with a familiar crown layout, but the panel count leaves important choices open. The cap may need a defined front or a more relaxed shape, a curved or flat visor, and an adjustable back or a specified size system. This 6-panel cap buying guide helps connect those choices to references that can be quoted, sampled and approved.
For a project discussion, use the Wenext Caps six-panel cap product page. Send the intended silhouette, materials, artwork and item quantities together. Identify what is already decided and where you want a proposal.
Define the crown before choosing the details
Provide front, side, top and rear views of the selected construction. Mark the front centre seam, panel joins, rear opening and top finish. If the design uses a top button, identify its treatment; if a reference detail should be changed or omitted, show that explicitly.
Record the intended profile and crown depth using a consistent wearing or display setup. A cap styled for a photograph can give a different impression from the supplied product. Agree the condition used for sample approval so later versions can be compared fairly.
Specify support, profile and closure separately
The outer shape does not explain every inside component. Ask the supplier to identify the proposed front support, lining, sweatband and seam treatment. Review them with the chosen fabric and fit rather than using “structured” as the complete specification.
Official product examples show why those choices need to be named. AS Colour’s Icon Cap is described as a structured, mid-profile six-panel cap with a curved peak and plastic snapback. Its Access Cap is described as low-profile and six-panel, with a curved peak and metal-clasp adjustment. Those descriptions belong to the named products; use your own approved combination for a Wenext order.
Choose the size system as part of the design
State whether the project needs an adjustable cap, fixed fitted sizes or another agreed fit arrangement. Record the wearer references, relevant cap measurements, units and measurement method. A rear fastening does not by itself define the entire fit range.
For adjustable caps, review the required settings with the rear opening and strap handling. For fitted versions, identify the size set and quantities by size. The Fitted Cap Buying Guide and Stretch-Fit Cap Buying Guide cover those separate fit decisions where relevant.
Identify the material beyond its appearance
Keep the proposed swatch, material information, colour reference and finish together. Show the intended fabric face and direction where they matter to the design. A photograph communicates visible texture and colour direction, while the supplied swatch and specification identify additional material details.
Mark temporary materials used in development. If the final fabric, treatment or inside support changes, agree which shape, fit and decoration points need another review. Keep any performance or material claim connected to the appropriate evidence for the supplied item.
Review the visor with the assembled crown
Specify the intended visor outline, projection, curve or flatness, underside and relevant stitching details. Review how it meets the front panels using comparable front and side views. Distinguish the supplied shape from any later styling used for photography.
Include the intended packing arrangement in the review. Check the crown, visor and front decoration after unpacking under agreed conditions. If the project needs folding or compression, define that handling separately and assess the complete construction.
Plan the artwork around the front centre seam
Place the selected artwork on the actual front layout at its proposed finished dimensions. Mark its location against identifiable cap features. A logo centered across the seam, a mark placed to one side and a separately attached badge each raise different sample questions.
Ask the supplier to review the proposed method on the relevant material and cap. For embroidery support, Madeira’s backing guidance is a useful technical reference. Approve the decorated result, including the surrounding panel and inside finish where relevant, alongside the artwork file.
Bring labels, trims and packing into the same release
List the inside labels, seam tape, side or rear branding, hangtags, stickers and packing components required for the item. Connect each one to its approved file, position and applicable colourway or size. Identify who supplies and approves product information for the intended destination.
Review the complete presentation on the sample. Keep a temporary trim visible as an open decision. A cap approved for crown shape may still be awaiting its final label, retail identifier or packing artwork.
Give every sample round a clear purpose
An early round may settle the pattern while using an available fabric or fastening. Another may address fit or a decorated application. Record the purpose, sample identity and provisional components before reviewing the result.
- Crown: selected panel layout, profile, seam joins and top finish.
- Fit: size system, wearer setup, measurements and relevant adjustment settings.
- Components: fabric, support, sweatband, visor and closure versions.
- Artwork: released file, dimensions, method, colours and placement.
- Presentation: labels, trims, supplied shape and packing arrangement.
Keep accepted features clear while requesting a change. The final approval should identify the complete proposed combination and any condition still awaiting a decision. Retain that reference for production and repeat orders.
Release quantities by the item that will be supplied
List the relevant colourways, graphics, sizes and packing variations with their own quantities. Ask the supplier to confirm minimums, development scope and timing against that breakdown. A total quantity alone can conceal important differences between items.
For a repeat, identify the accepted construction and any changed material, artwork, trim or quantity mix. Request review of the affected points before extending an earlier approval to a new version.
Related planning resources
Crown construction and profile
- Crown seams, shape and support decisions
- Six-panel baseball cap construction and fit
- Front support, lining and sample approval
Samples and quality review
Branding and embroidery
- Inside and outside private-label branding
- Centre-seam and offset logo placement
- Embroidery detail and decorated-sample review
Materials and finish
Assortments and supplier comparison
Repeat orders and packing
Compare related cap choices
The Baseball Cap Buying Guide covers the wider product category. The 5-Panel Cap Buying Guide helps compare a different panel-layout brief. Use an identifiable construction and sample rather than relying on the category name to settle the design.
Common six-panel buying questions
Does a six-panel cap have to be structured?
Specify the support and intended profile separately from the panel count. Ask for the proposed inside components and review the chosen combination on a sample.
Can a logo sit across the front seam?
Review the actual artwork, dimensions, application and front construction with the supplier. A decorated sample should show the placement and finish you are approving; a generic mockup leaves those questions open.
What should I send for an initial enquiry?
Provide marked cap views, the proposed material and finish, visor, fit arrangement, closure, artwork and quantities by item. Add the destination, target timing and open development questions through Contact Wenext Caps.